When you’re publishing a food blog it is crucial that you’re able to snap delicious-looking photos of the various dishes that you sample. Of course as much as you may be a fairly skilled photographer, odds are that sometimes the photos you snap may turn out less than perfect – which is why it can help if you know how to enhance them.
In order to enhance the photos you want to publish on your food blog, you’ll need to be able to edit them. That may not be something that you’re familiar with, but with Movavi Photo Editor it is actually really straightforward.
Essentially Movavi Photo Editor will offer you a variety of ways in which you can enhance the quality and appearance of your photos – while also correcting any issues at the same time. In particular you will be able to choose whether you want to manually adjust the various color settings to improve how your photo looks, or do so automatically.
To get started and use Movavi Photo Editor as a photo enhancer, you should:
- Launch Movavi Photo Editor.
- Click on the ‘Browse for Images’ button and select the photo you want to enhance.
- Open the ‘Adjust’ tab to find the various color settings and parameters.
- Click the ‘Magic Enhance’ button right at the top to automatically adjust the color settings and make the image more vivid and saturated.
- Manually adjust the sliders below to adjust specific areas, such as the ‘Sharpness’ to correct blurry images, ‘Exposure’ to fix over-exposed or under-exposed photos, and the various other color settings.
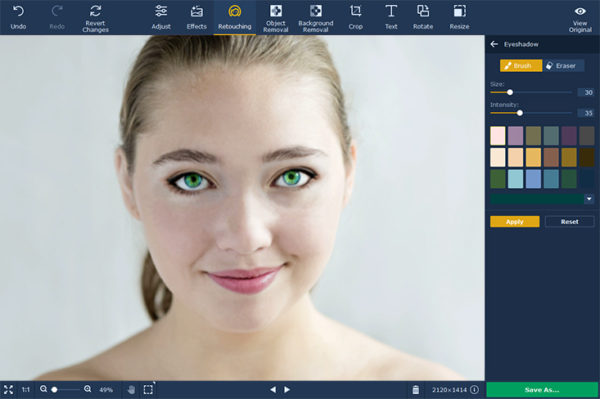
- To compare the changes with the original version at any point click the ‘View Original’ button.
- To reverse any changes that you’ve made, click the ‘Revert Changes’ button.
- When you’re satisfied, click ‘Save as’ to save your photo.
In short you will be able to have full control over the colors and quality of your photos and can make sure they look ‘picture perfect’ by the time you’re done. It may take a few minutes for you to familiarize yourself with the full scope of color settings in Movavi Photo Editor, but by experimenting with the sliders it should be easy to see what each one can do.
If you want you can also explore the numerous other features in Movavi Photo Editor and use them to remove unwanted elements, apply artistic filters, transform the frame and orientation, switch the background, add captions, and much more. Between these features you should be able to ensure the photos that you snap for your food blog not only look great, but also have their own unique style.
The next time you snap photos of a particular dish for your food blog and it doesn’t turn out great – all you need to do is turn to Movavi Photo Editor and put its features to work. By the time you’re done your photos should look a lot more sumptuous, and ready to be published on your blog.
Leave a Reply